
File guide
Build the file the press can use.
A risograph will not turn a CMYK export into spot color. Give each ink its own layer, leave room for the sheet to shift, and the print will look like you meant it. Prefer to hand us the design as is? We will do the colour separation and file prep for you for a fee.
- 01
One layer per ink
Risograph is spot color. Build the artwork so each ink can be printed alone: a named layer, or its own page in the PDF. Label it for the drum: green, medium blue, bright red, yellow, or black. A CMYK build is not a separation.
- 02
Actual size, with bleed
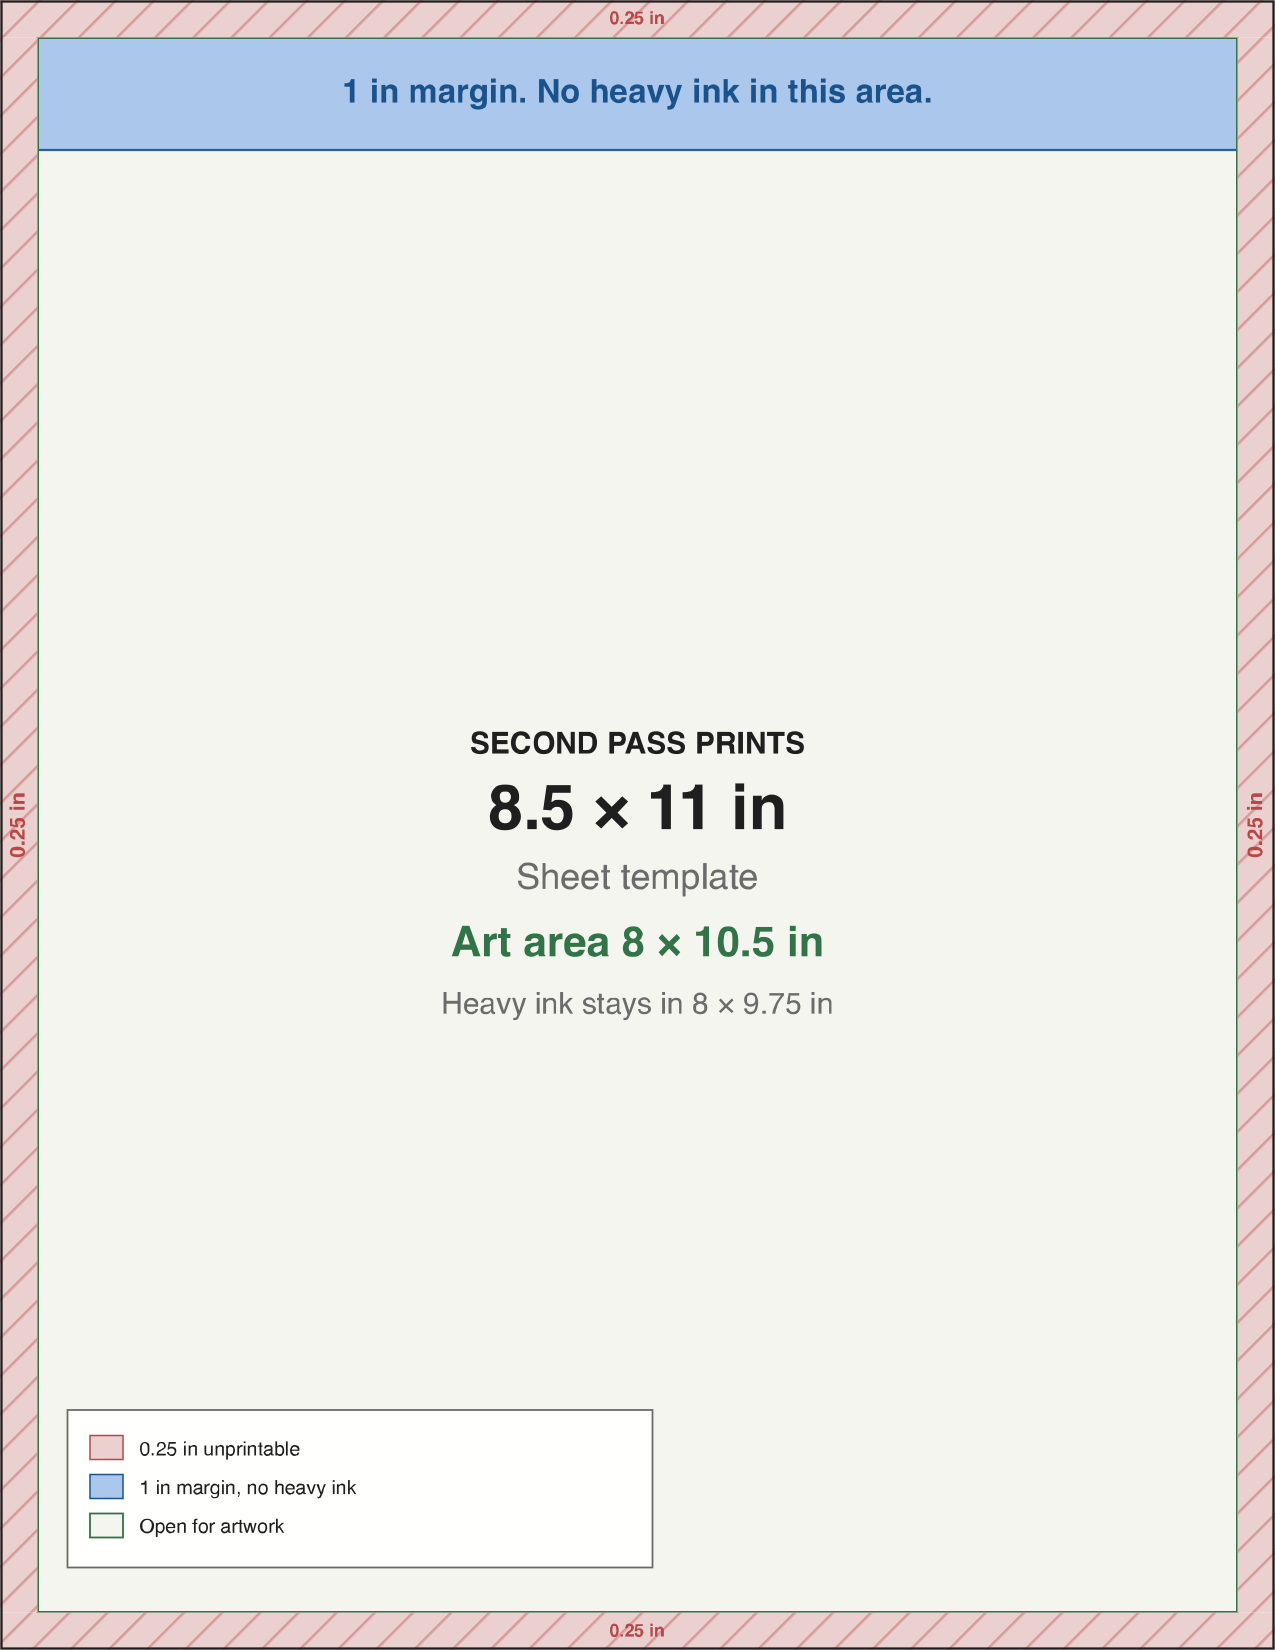
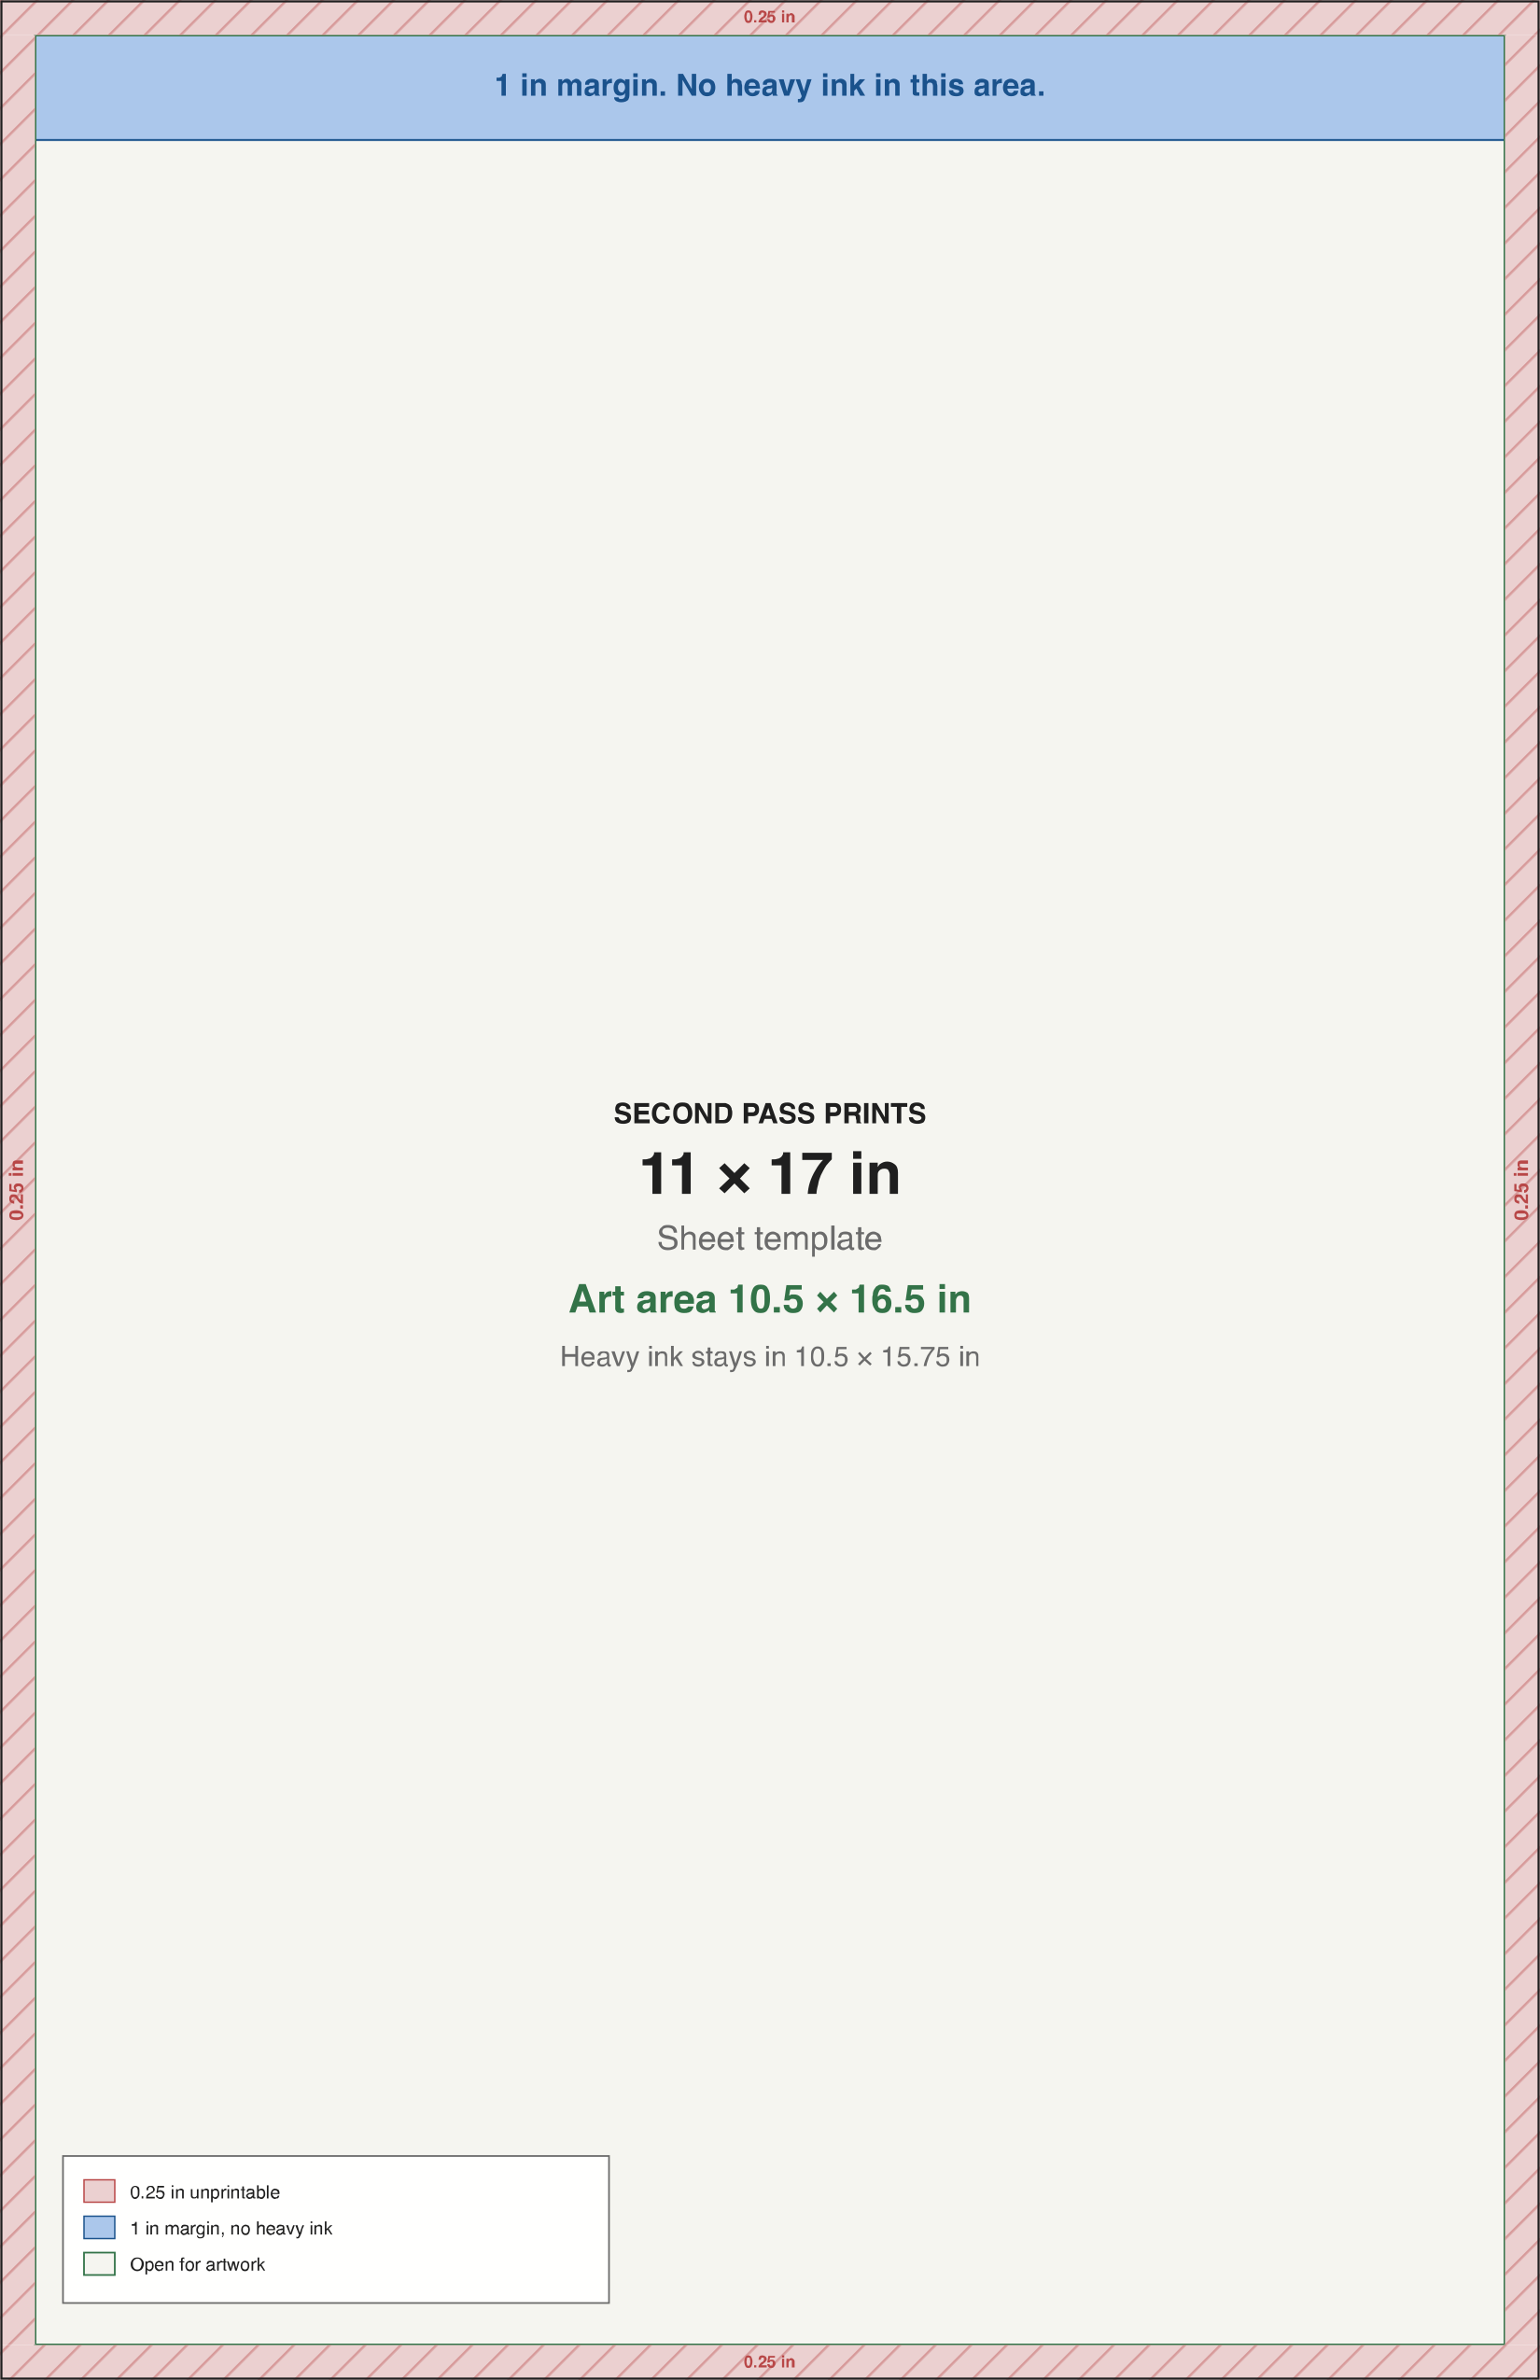
Set the document to the trim size. Add 0.125 in bleed on every side. Keep type, and anything that cannot be cut, at least 0.25 in inside the trim. On 8.5×11 and 11×17 sheets, leave 0.25 in on every edge. The top 1 in, from the leading edge of the paper, can take light ink. Heavy ink there can stick the sheet to the drum. Art areas are 8 × 10.5 in and 10.5 × 16.5 in. You can provide full-size images with no margins. We will resize them to fit within the margins during pre-press. Download the sheet templates below, or use the fit check tool to test a file and scale it into the printable area.
- 03
300 dpi where it is a picture
Vector type and flat shapes can stay vector. Photographs and textures should be 300 dpi at the printed size. A soft image will look softer. That can be a choice. Outline type if the font is unusual.
- 04
Leave room for registration
The sheet shifts a little between passes, often around a millimeter. Do not reverse tiny type out of another color. Do not depend on a hairline to land exactly on a shape. Overlaps should still look right if they drift.
- 05
Halftones, not gloss
A photograph prints as dots of a single ink. High contrast holds. Delicate gradients and pale faces can break up. If a detail matters, give it its own ink or simplify the image.
- 06
Black is an ink
Do not build black out of other colors, and do not send a rich black. If you want black, put it on the black layer and leave it there.
- 07
Name the file like the job
market-poster-yellow.pdf and market-poster-red.pdf are easier to print than final-final-v7.pdf. One ink per file is the cleanest way through the studio.
- 08
Tell us the edition
Finished size, paper, quantity, and the inks required.
Sheet templates
Exact-size PDF and PNG files for 8.5×11 and 11×17. Every edge is 0.25 in. The top 1 in, measured from the leading edge of the paper, is a transparent blue band for light ink. A lot of ink at the top of the page can stick the paper to the drum and cause a misprint. You can provide full-size images with no margins. We will resize them to fit within the margins during pre-press.
Already have a file? Check whether it fits.
8.5 × 11 in
8 × 10.5 in art area. 0.25 in on every edge. No heavy ink in the top 1 in.
11 × 17 in
10.5 × 16.5 in art area. 0.25 in on every edge. No heavy ink in the top 1 in.
Files ready?
Send separations with a job ticket, or ask us to prep the files. We look forward to working together!